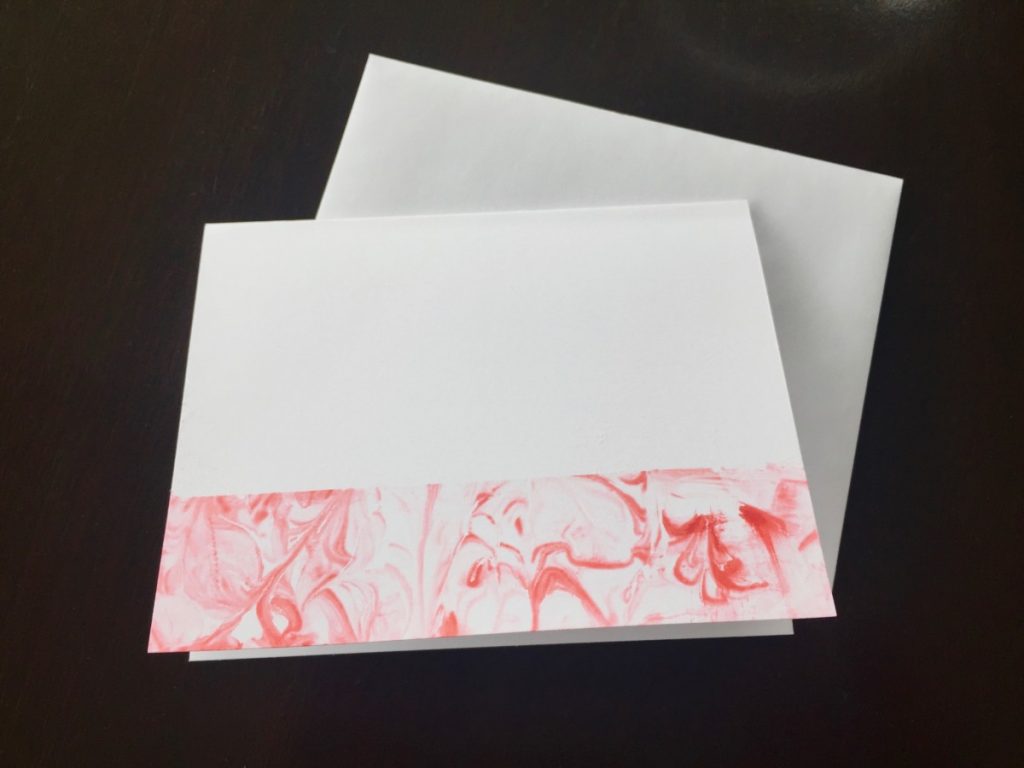
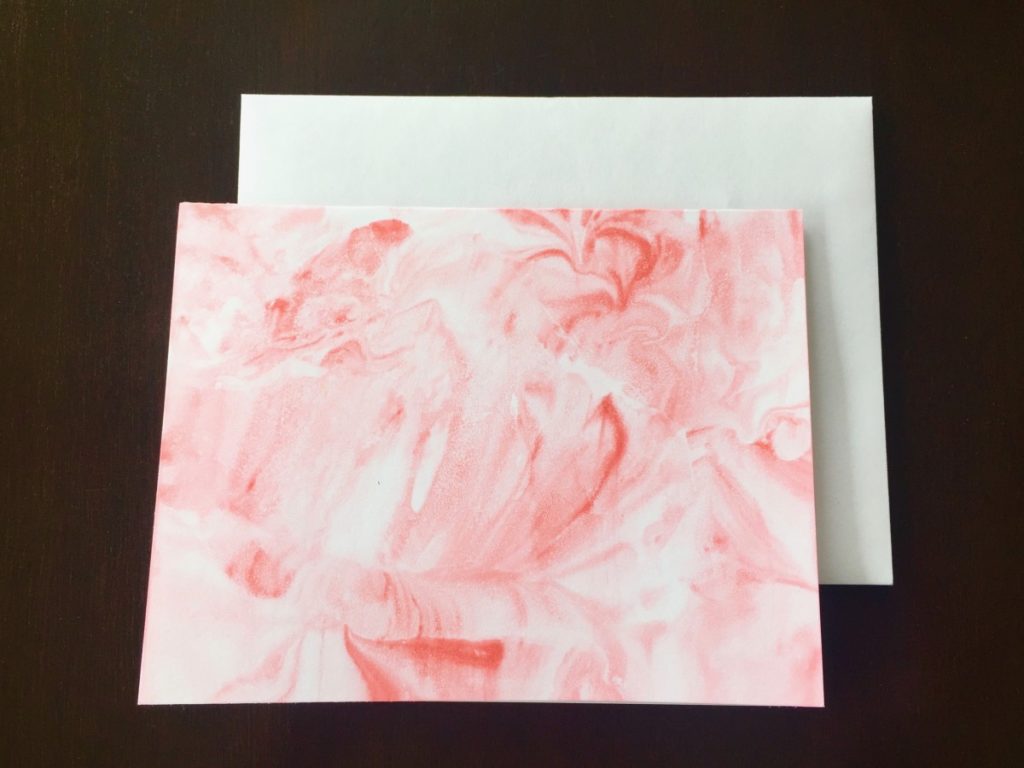
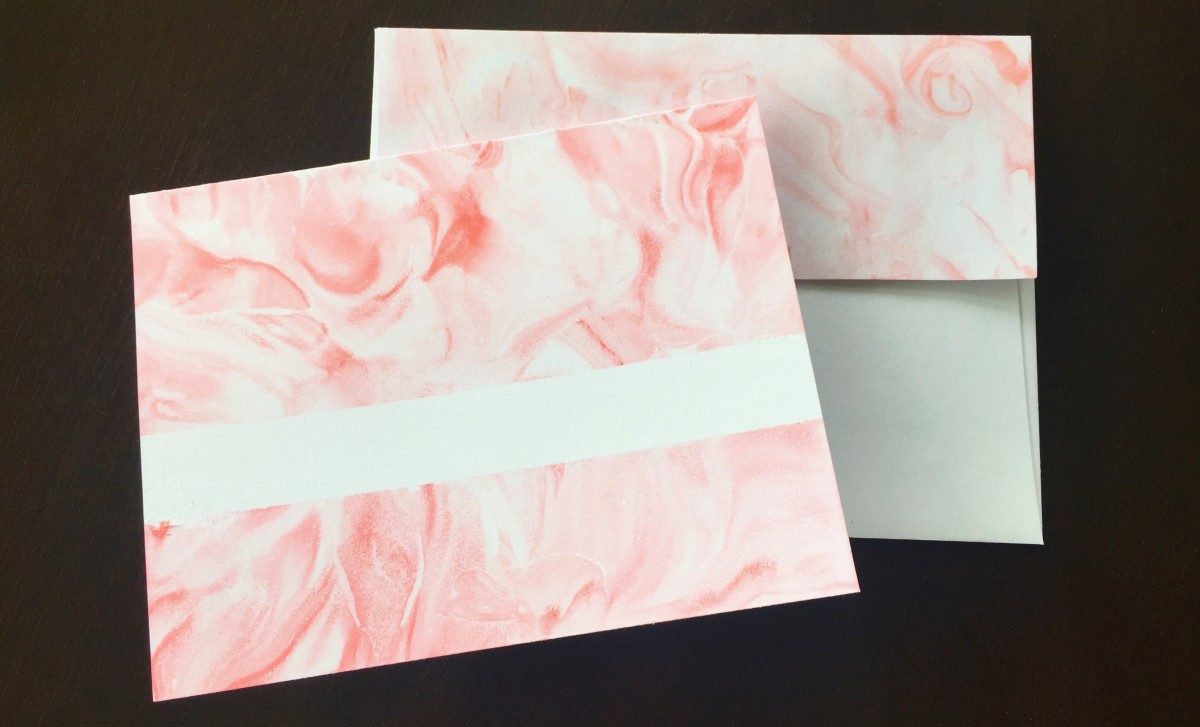
I tried marbelizing paper once. It was a delicate, messy, drippy experience. This is not that. It’s quick and satisfying, okay it’s a bit messy, but it’s so much easier.
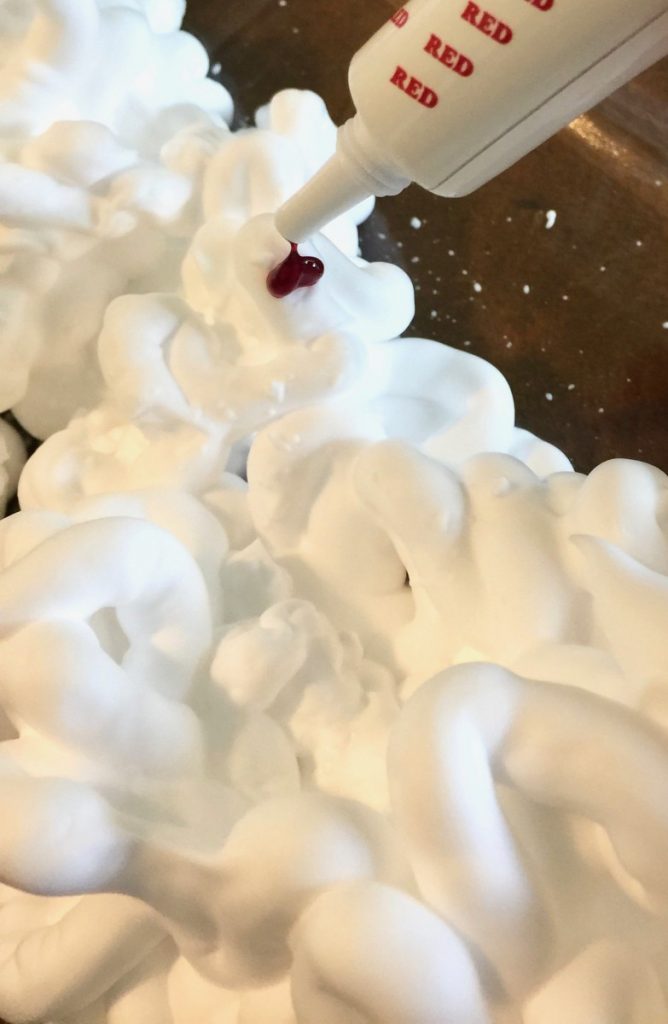
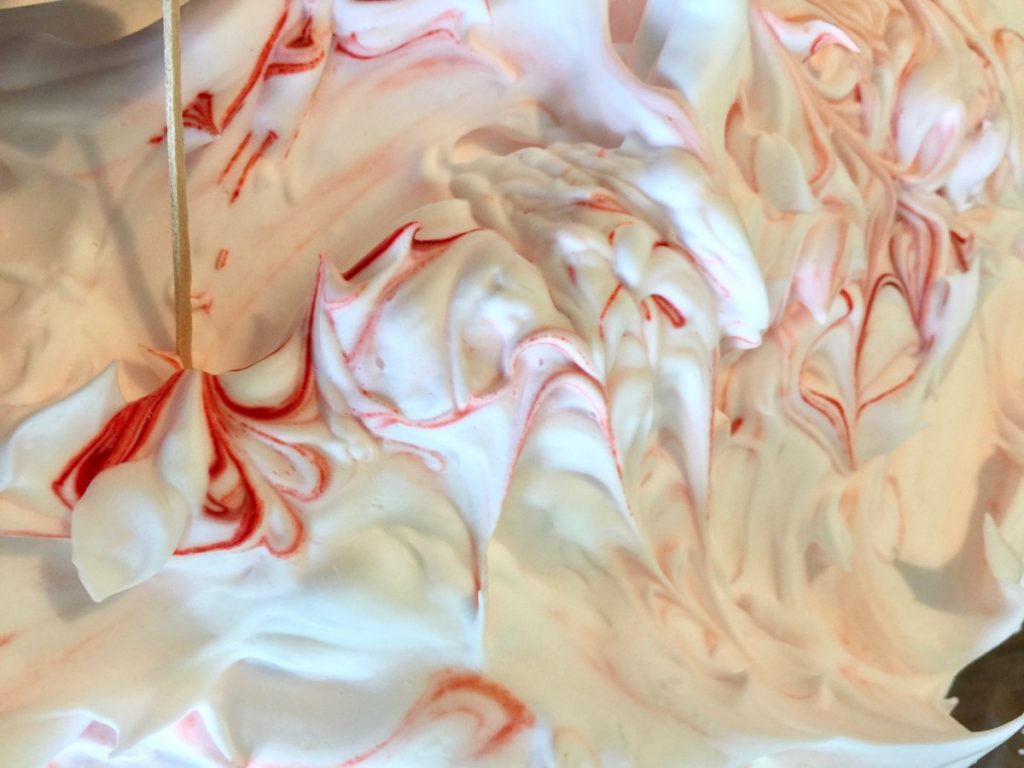
The step by step instructions are here. The two main ingredients, apart from the cards, are: old school foamy shaving cream and food coloring. You can blend multiple colors or keep it simple. I used the red because it ends up looking like roses.
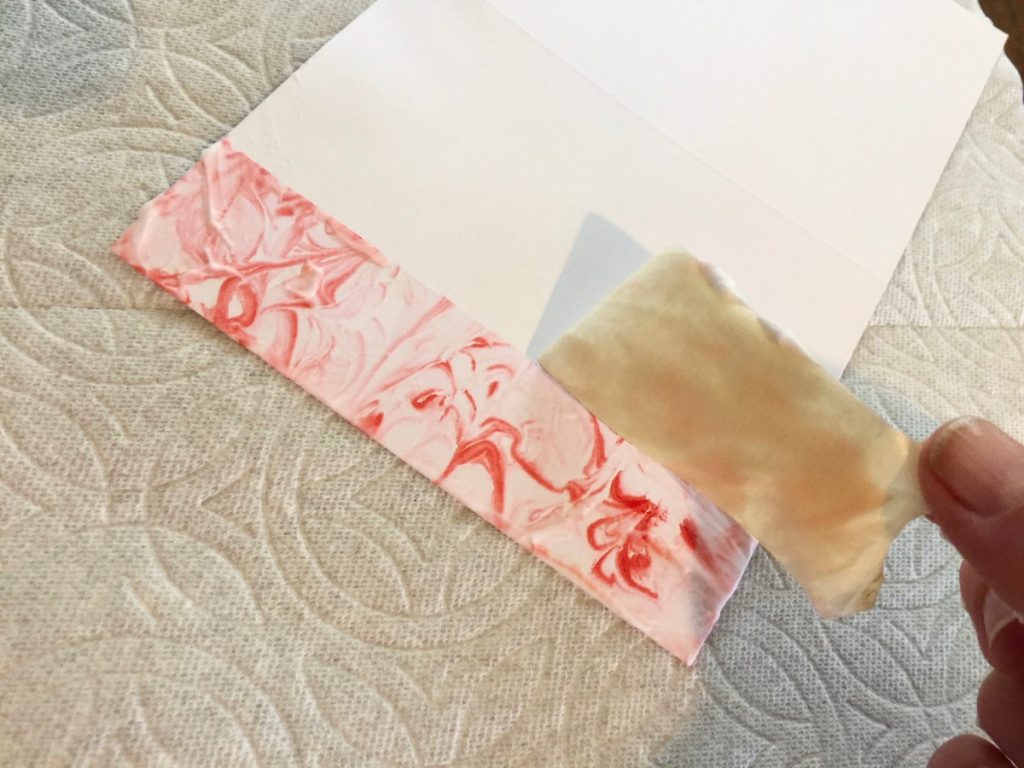
It’s kind of a magical process. After the card and the shaving cream swirled with food coloring come into contact, it doesn’t seem like it’s going to work. But once you gently scrape away the creaminess — there it is!
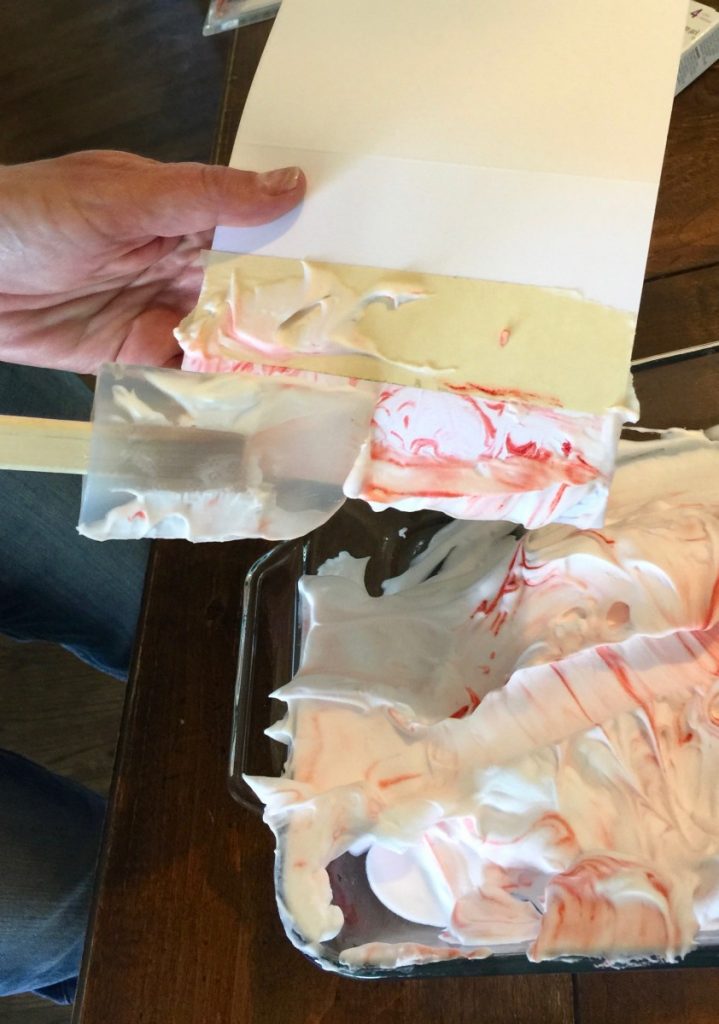
My only tip is, if you want to avoid tearing your card when you remove the painters tape (it’s there to keep some sections from being colored), you can skip that step. When I was halfway through I started “buttering” the shaving cream mixture onto the cards with a spatula. It was a different style, a little more creative and freeform.
One more thing, and this is going to sound weird — you’re going to want to lick the spatula at some point in the process. It looks like a delicious raspberry dessert. Don’t do it! This is soap!
It took me an hour, and for around fifteen dollars I made two dozen really gorgeous notecards that I’ll be giving as hostess gifts and sending out for birthdays and thank you’s for the next year!

